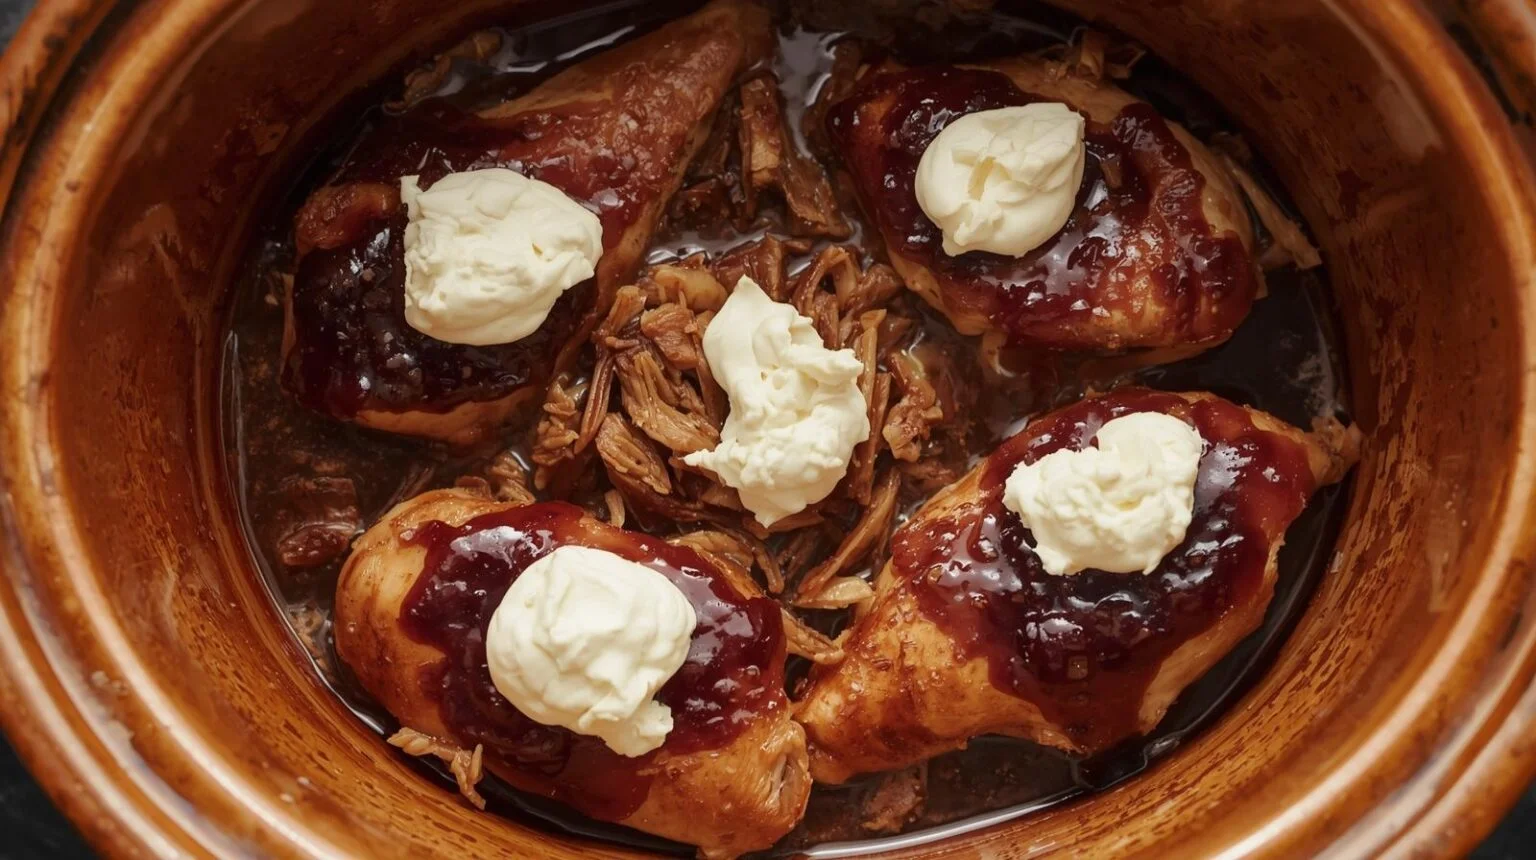
Balsamic Fig & Goat Cheese Stuffed Chicken
Discover how to make Balsamic Fig & Goat Cheese Stuffed Chicken. A delicious recipe with detailed instructions.
15
Prep Time
30
Cook Time
45
Total Time
6
Servings
⏱ Cooking Timer
Minutes : Seconds
Why You'll Love This Recipe
Discover how to make Balsamic Fig & Goat Cheese Stuffed Chicken. A delicious recipe with detailed instructions.
Ingredients
Instructions
Step 1
1. Preheat your oven to 375°F (190°C).
Step 2
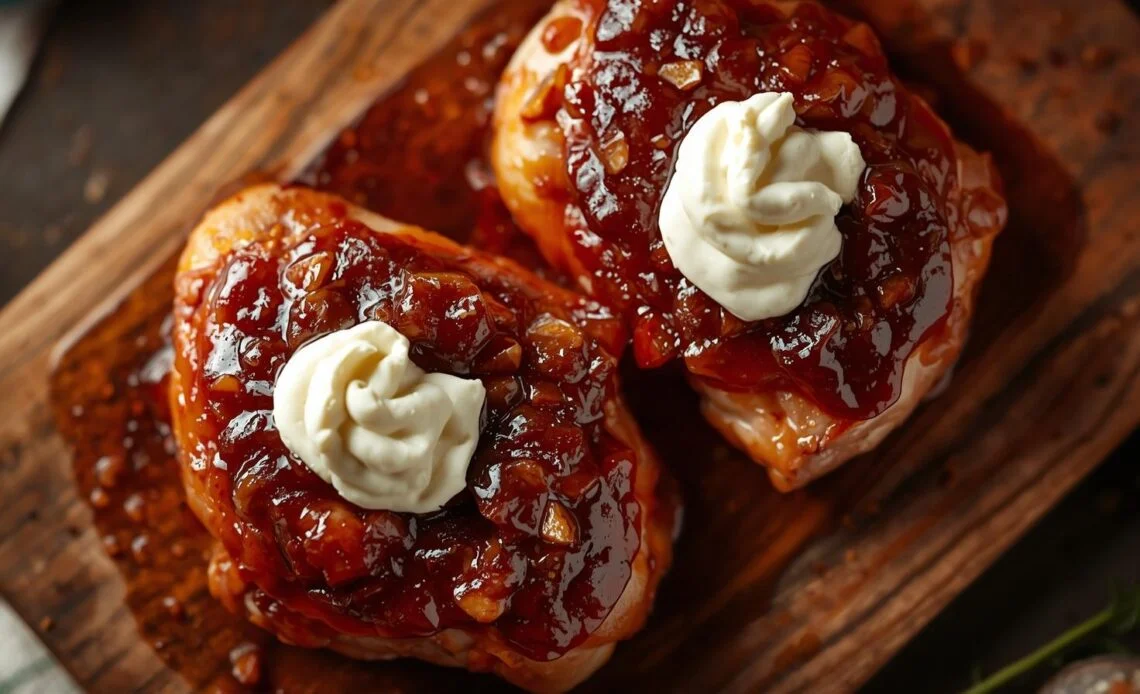
2. In a small bowl, mix together the fig jam, crumbled goat cheese, minced garlic, and thyme. Set aside.
Step 3
3. Using a sharp knife, carefully create a pocket in each chicken breast by slicing horizontally through the thickest part, ensuring not to cut all the way through.
Step 4
4. Season the inside and outside of each chicken breast with salt and pepper.
Step 5
5. Stuff each chicken breast with the fig and goat cheese mixture, dividing it evenly among the breasts. Secure with toothpicks if necessary.
Step 6
6. In an oven-safe skillet, heat the olive oil over medium-high heat. Once hot, add the stuffed chicken breasts and sear for about 3-4 minutes on each side until golden brown.
Step 7
7. Carefully pour the balsamic vinegar and chicken broth into the skillet around the chicken. Drizzle the honey over the tops of the chicken breasts.
Step 8
8. Transfer the skillet to the preheated oven and bake for 20-25 minutes, or until the chicken is cooked through and reaches an internal temperature of 165°F (74°C).
Step 9
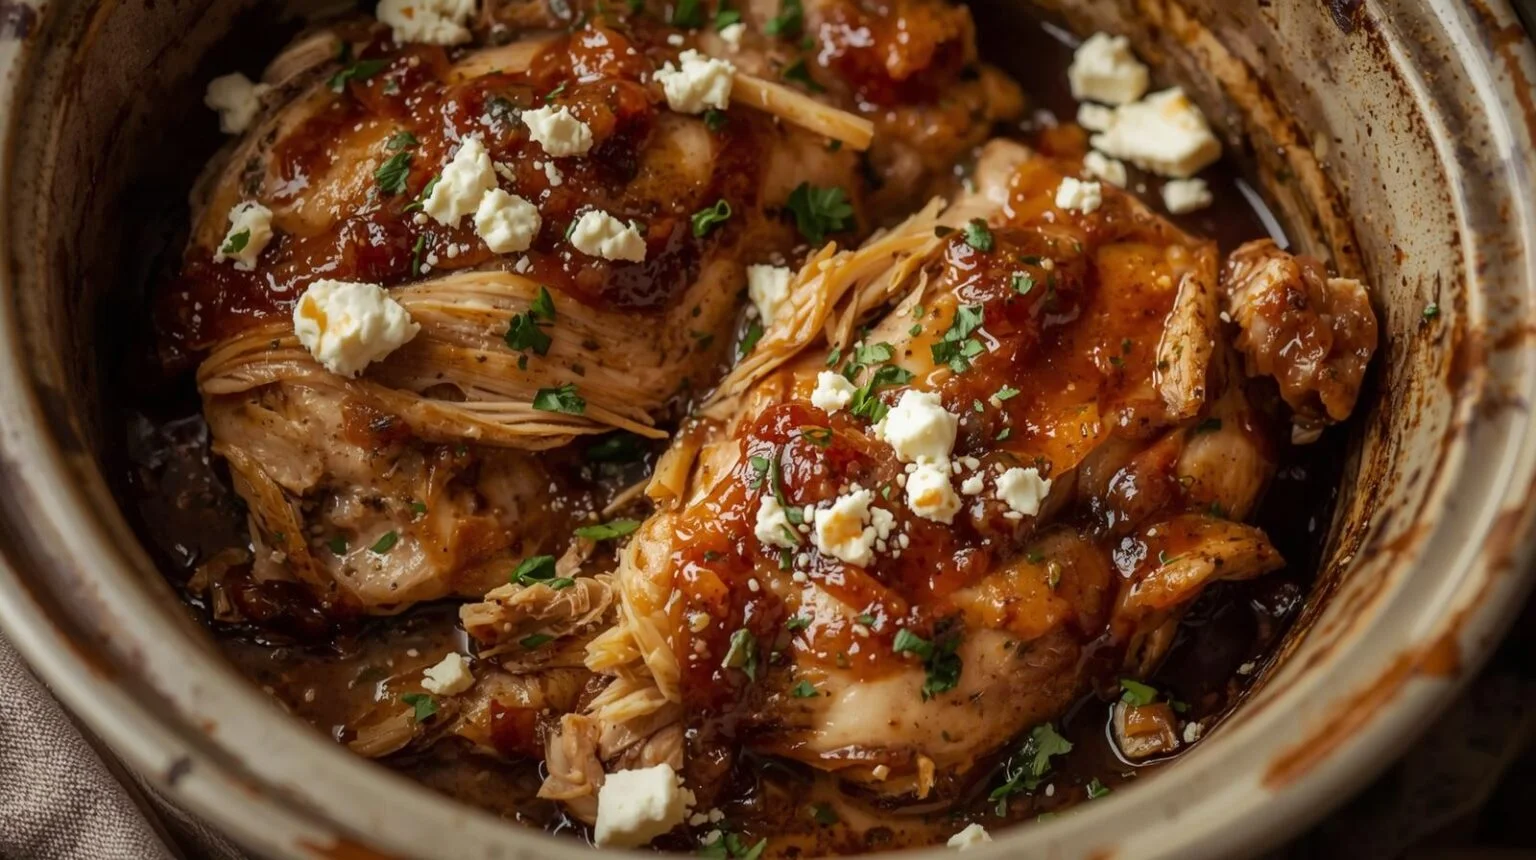
9. Remove from the oven and let the chicken rest for 5 minutes before serving. Garnish with fresh thyme sprigs.
You Must Know
- ✓For an extra layer of flavor, consider adding a pinch of crushed red pepper flakes to the fig jam mixture for a slight kick.
- ✓Make sure to let the chicken rest after baking; this helps retain its juices for a tender bite.
- ✓If you don’t have an oven-safe skillet, transfer the seared chicken to a baking dish before adding the balsamic mixture.
Chef's Notes
For an extra layer of flavor, consider adding a pinch of crushed red pepper flakes to the fig jam mixture for a slight kick.
Make sure to let the chicken rest after baking; this helps retain its juices for a tender bite.
If you don’t have an oven-safe skillet, transfer the seared chicken to a baking dish before adding the balsamic mixture.
Serving Suggestions
This stuffed chicken pairs beautifully with a side of roasted vegetables or a fresh green salad. It's ideal for a cozy lunch gathering or an elegant dinner with friends.
Nutritional Info (Per Serving)
330
Calories
30g
Protein
18g
Carbs
15g
Fat
Tags

Lily
Your go-to site for tasty, homemade recipes.
Follow us on social media
More Lunch Recipes
Balsamic Fig & Goat Cheese Stuffed Chicken
Discover how to make Balsamic Fig & Goat Cheese Stuffed Chicken. A delicious recipe with detailed instructions.
Ingredients (11)
Instructions
- Preheat your oven to 375°F (190°C).
- In a small bowl, mix together the fig jam, crumbled goat cheese, minced garlic, and thyme. Set aside.
- Using a sharp knife, carefully create a pocket in each chicken breast by slicing horizontally through the thickest part, ensuring not to cut all the way through.
- Season the inside and outside of each chicken breast with salt and pepper.
- Stuff each chicken breast with the fig and goat cheese mixture, dividing it evenly among the breasts. Secure with toothpicks if necessary.
- In an oven-safe skillet, heat the olive oil over medium-high heat. Once hot, add the stuffed chicken breasts and sear for about 3-4 minutes on each side until golden brown.
- Carefully pour the balsamic vinegar and chicken broth into the skillet around the chicken. Drizzle the honey over the tops of the chicken breasts.
- Transfer the skillet to the preheated oven and bake for 20-25 minutes, or until the chicken is cooked through and reaches an internal temperature of 165°F (74°C).
- Remove from the oven and let the chicken rest for 5 minutes before serving. Garnish with fresh thyme sprigs.
More Lunch Recipes
Community Reviews
What cooks are saying
137 reviews
Share your experience
Leave a review
Help other home cooks decide if this recipe is right for them. Honest feedback is appreciated!