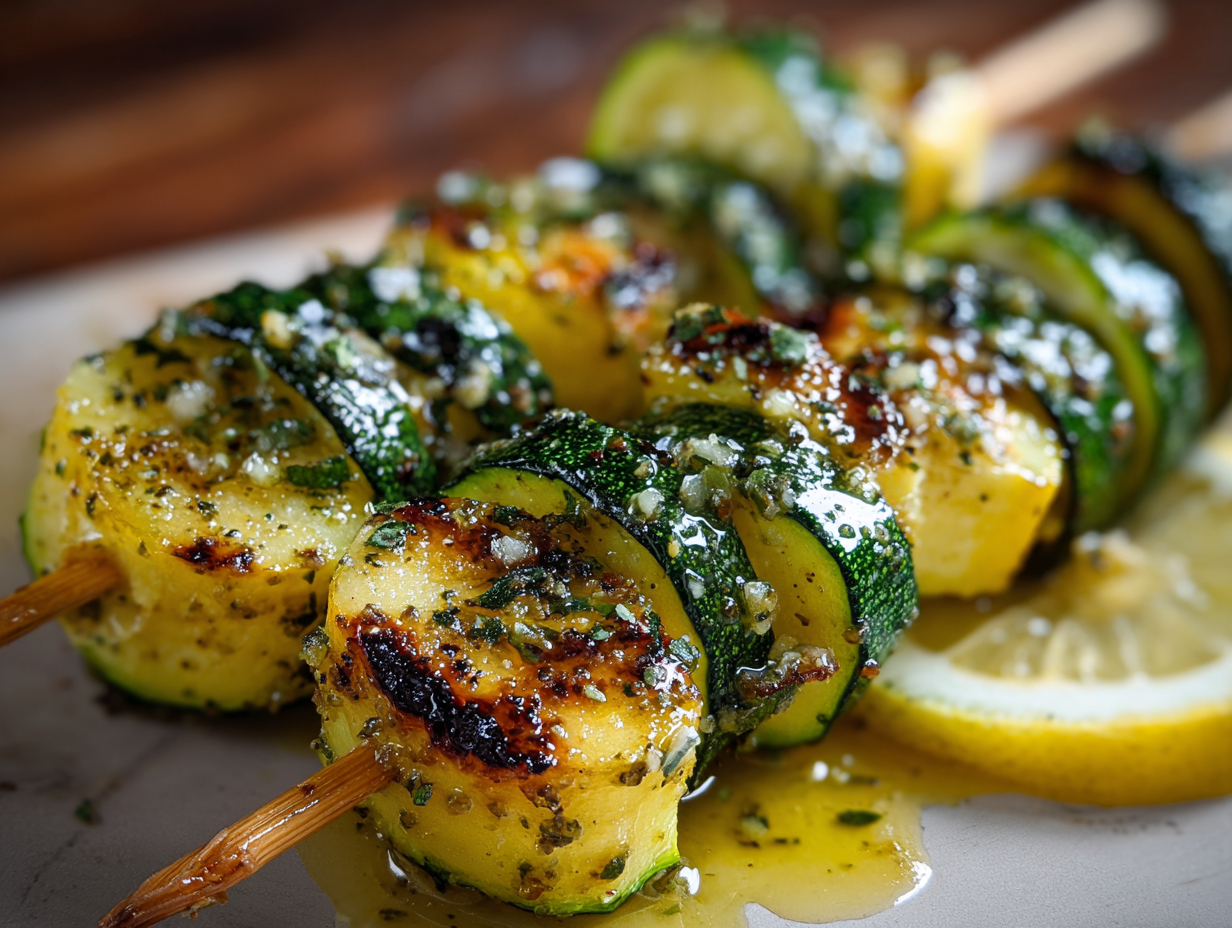
Garlic Butter Zucchini Skewers Recipe
Discover how to make Garlic Butter Zucchini Skewers Recipe. A delicious recipe with detailed instructions.
20
Prep Time
8
Cook Time
28
Total Time
4
Servings
⏱ Cooking Timer
Minutes : Seconds
Why You'll Love This Recipe
Discover how to make Garlic Butter Zucchini Skewers Recipe. A delicious recipe with detailed instructions.
Ingredients
Instructions
Step 1
1. Preheat your grill to medium-high heat (about 400°F/200°C).
Step 2
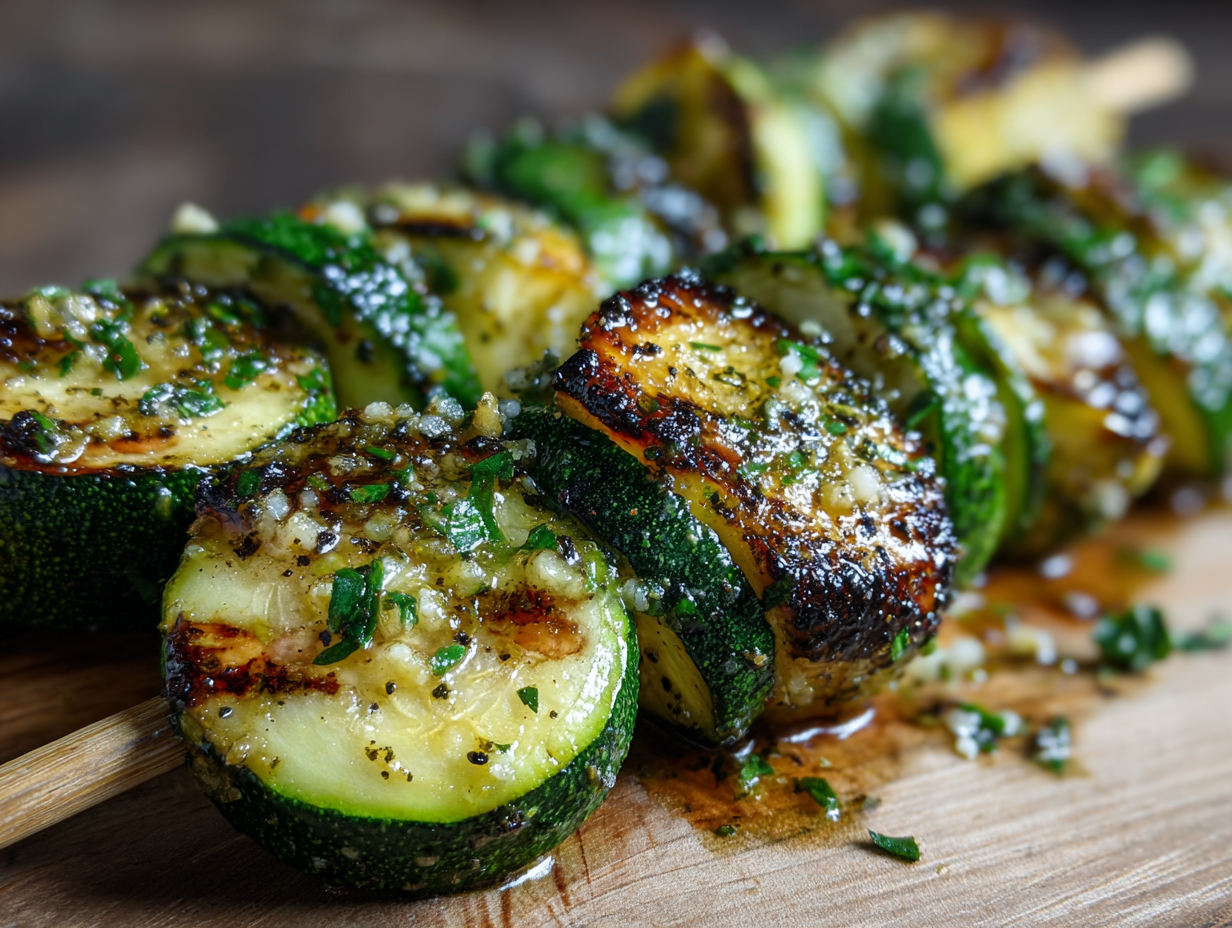
2. Slice the zucchinis into 1-inch thick rounds and pat them dry with paper towels to remove excess moisture.
Step 3
3. In a small bowl, combine the melted butter, olive oil, minced garlic, salt, pepper, and lemon juice. Whisk until well combined.
Step 4
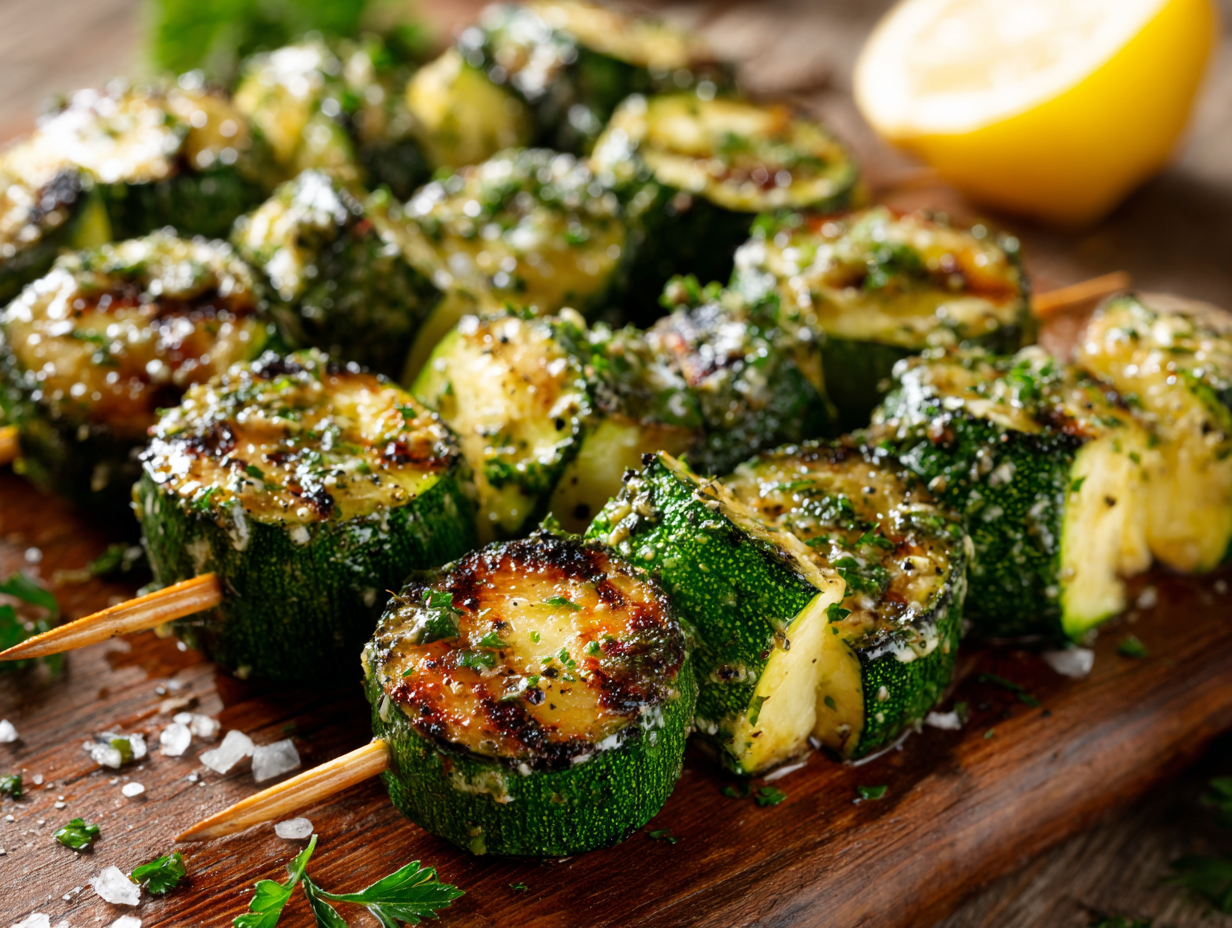
4. Thread the zucchini slices onto the soaked wooden skewers, placing 4-5 slices on each skewer.
Step 5
5. Brush both sides of the zucchini skewers generously with the garlic butter mixture.
Step 6
6. Place the skewers on the preheated grill and cook for 4-5 minutes per side, or until the zucchini is tender and has nice grill marks.
Step 7
7. During the last minute of cooking, brush the skewers again with any remaining garlic butter.
Step 8
8. Remove from the grill and let rest for 2-3 minutes before serving.
You Must Know
- ✓Don't skip soaking the wooden skewers - this prevents them from burning on the grill
- ✓For extra flavor, add a sprinkle of grated Parmesan cheese during the last minute of grilling
- ✓If using metal skewers, reduce cooking time by 1-2 minutes as they conduct heat more efficiently
Chef's Notes
Don't skip soaking the wooden skewers - this prevents them from burning on the grill
For extra flavor, add a sprinkle of grated Parmesan cheese during the last minute of grilling
If using metal skewers, reduce cooking time by 1-2 minutes as they conduct heat more efficiently
Serving Suggestions
These skewers are perfect alongside grilled chicken, steak, or fish. They also make a wonderful addition to a summer barbecue spread or Mediterranean mezze platter. Serve them hot off the grill for the best flavor and texture.
Nutritional Info (Per Serving)
180
Calories
2g
Protein
6g
Carbs
17g
Fat
Tags

Lily
Your go-to site for tasty, homemade recipes.
Follow us on social media
More Side Dishes Recipes
Garlic Butter Zucchini Skewers Recipe
Discover how to make Garlic Butter Zucchini Skewers Recipe. A delicious recipe with detailed instructions.
Ingredients (8)
Instructions
- Preheat your grill to medium-high heat (about 400°F/200°C).
- Slice the zucchinis into 1-inch thick rounds and pat them dry with paper towels to remove excess moisture.
- In a small bowl, combine the melted butter, olive oil, minced garlic, salt, pepper, and lemon juice. Whisk until well combined.
- Thread the zucchini slices onto the soaked wooden skewers, placing 4-5 slices on each skewer.
- Brush both sides of the zucchini skewers generously with the garlic butter mixture.
- Place the skewers on the preheated grill and cook for 4-5 minutes per side, or until the zucchini is tender and has nice grill marks.
- During the last minute of cooking, brush the skewers again with any remaining garlic butter.
- Remove from the grill and let rest for 2-3 minutes before serving.
More Side Dishes Recipes
Community Reviews
What cooks are saying
200 reviews
Share your experience
Leave a review
Help other home cooks decide if this recipe is right for them. Honest feedback is appreciated!